The First 24 Hours After Winter Water Damage
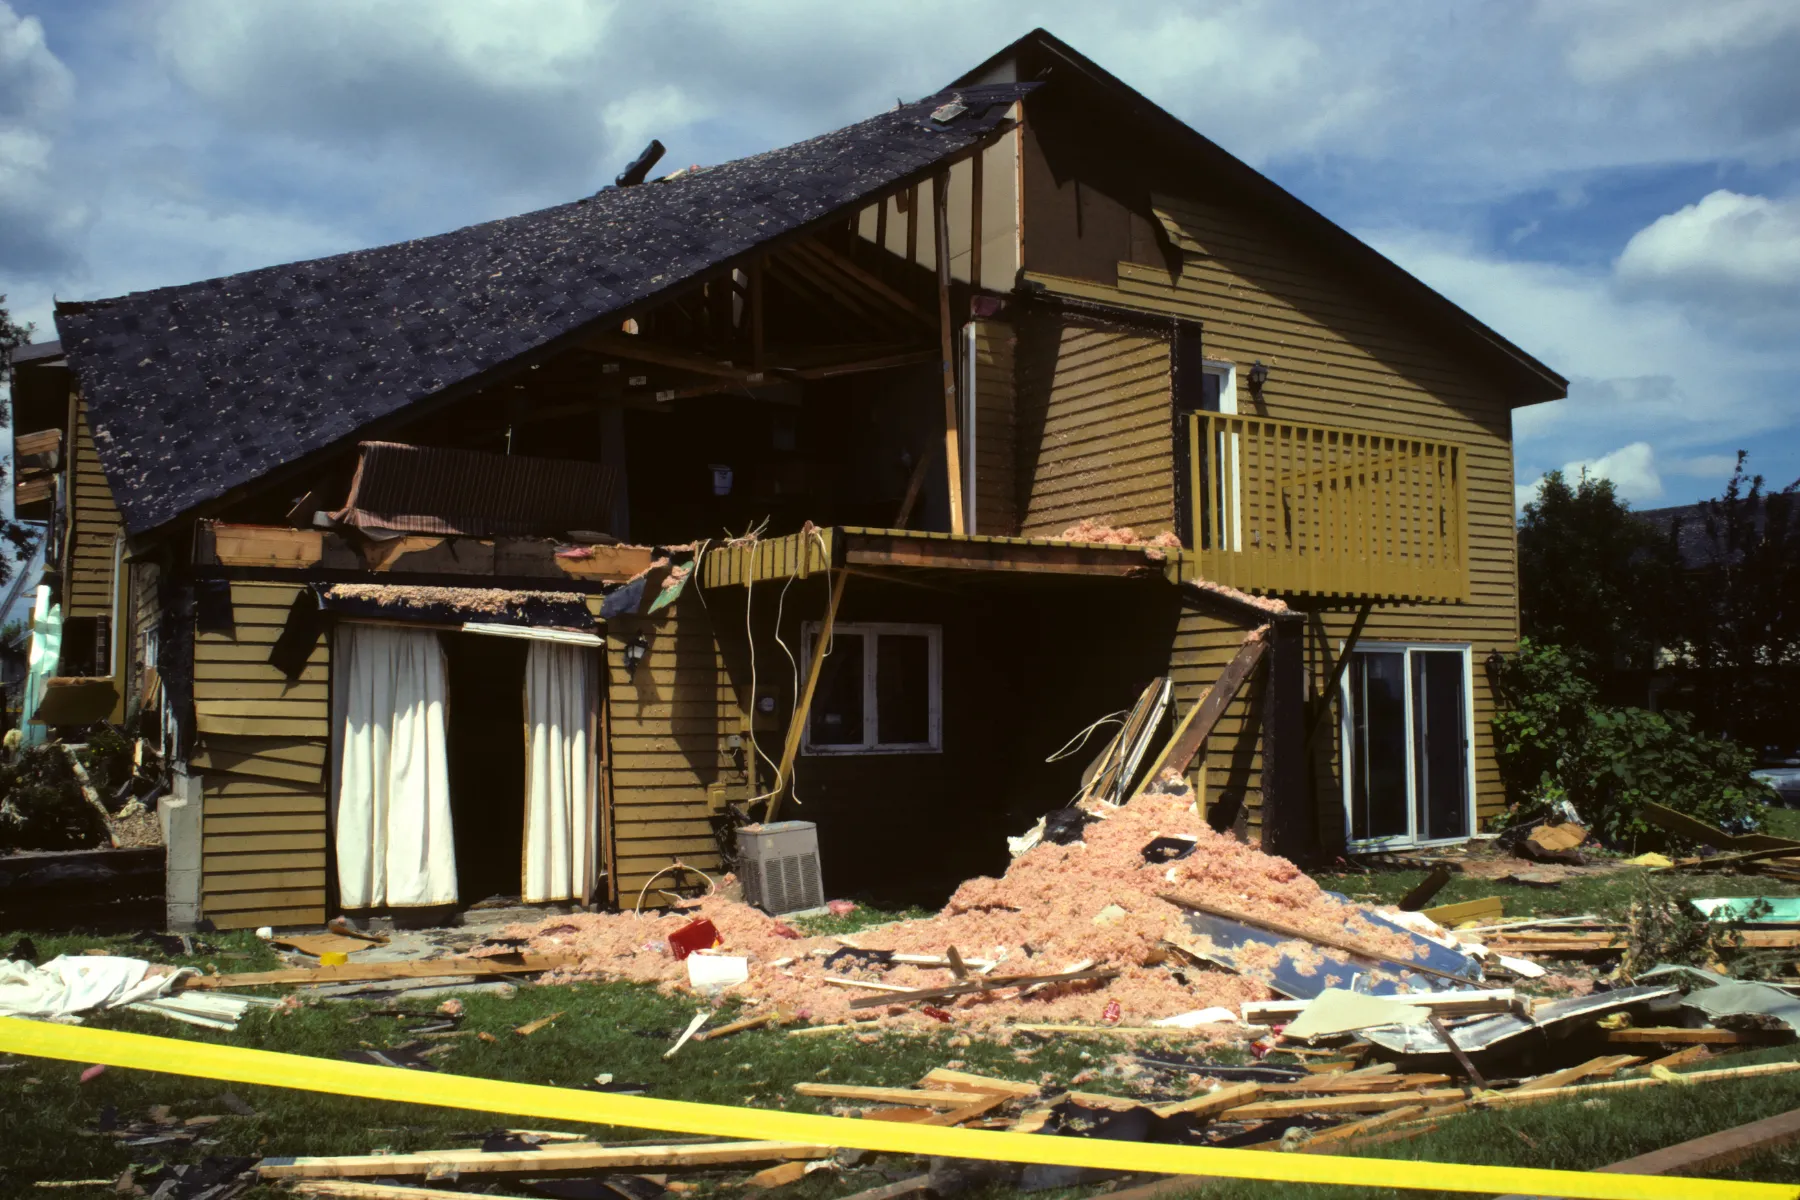
Winter water damage can happen fast. A frozen pipe can burst overnight, a roof leak can spread during a snowstorm, or melting ice can seep into walls and flooring before anyone notices. No matter how it starts, the first 24 hours after winter water damage are critical. Quick action can help prevent structural damage, reduce repair costs, and lower the risk of mold growth.
Why the First 24 Hours After Water Damage Matter
The first day after water damage is when moisture spreads the fastest. Even if the water looks contained, it may already be moving into hidden areas — through drywall and insulation, flooring and subflooring, baseboards and trim, ceiling cavities, and wood framing. The sooner drying begins, the better the outcome.
Step 1: Stay Safe & Check for Immediate Hazards
Before you start cleanup, safety comes first. Winter water damage can create electrical and structural risks.
Turn Off Electricity If Water Is Near These
- Wall outlets
- Power strips
- Electrical panels
- Appliances
- Light fixtures
Watch for Ceiling Sagging & Structural Damage
- Bulging drywall
- Sagging ceilings
- Dripping light fixtures
- Cracking or shifting ceiling tiles
Step 2: Stop the Water Source Immediately
Once you know the area is safe, the next priority is stopping the water at its source.
Shut Off the Water Supply for Frozen or Burst Pipes: If you suspect a burst pipe, shut off the main water valve for the building or the nearest shutoff valve for the affected fixture. Stopping the flow quickly can prevent thousands of dollars in additional damage.
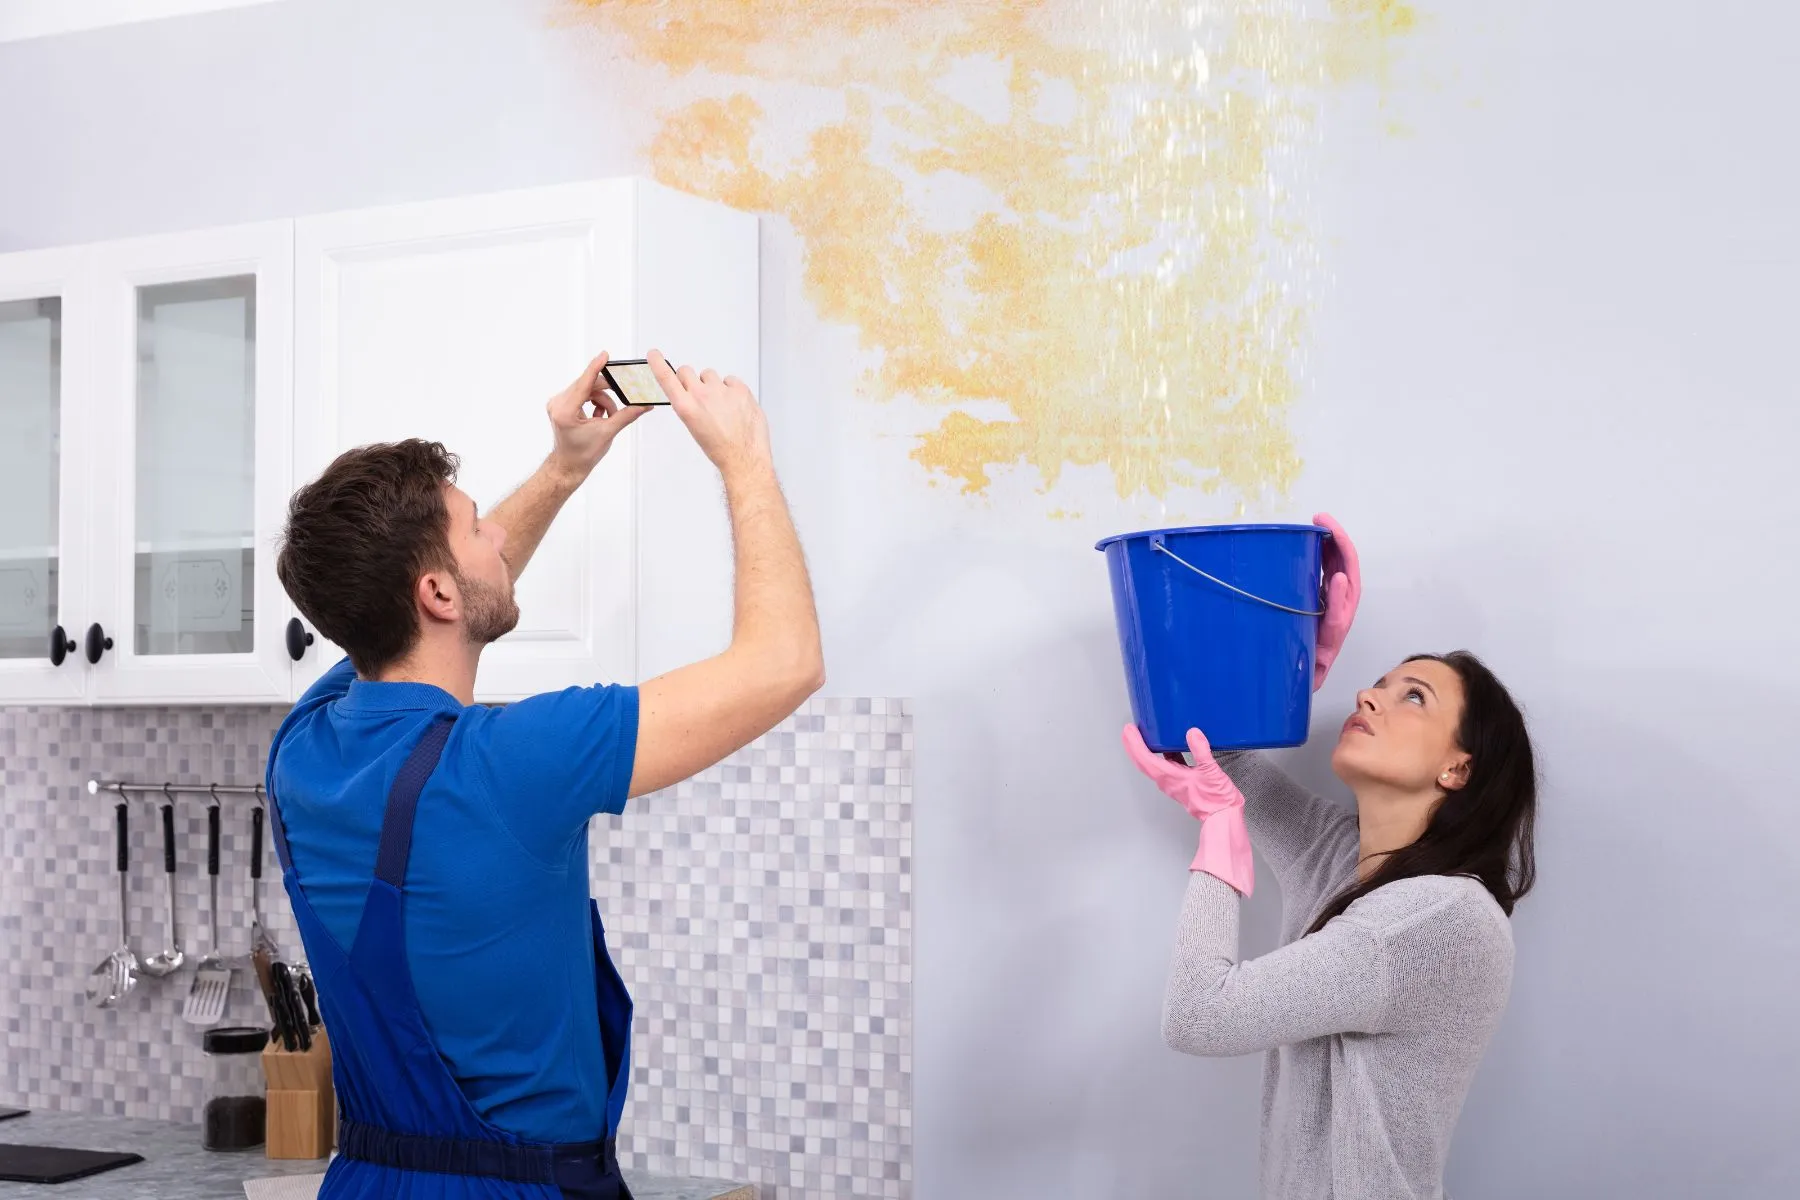
Address Roof Leaks & Winter Water Intrusion
- Place buckets or containers to catch dripping water
- Move valuables away from the leak
- Avoid climbing onto icy roofs
Step 3: Document the Winter Water Damage for Insurance
Even if you are focused on cleanup, documentation is an important part of the first 24 hours.
Take Photos & Videos Before Moving Items
- Standing water
- Damaged walls and flooring
- Ceiling stains
- Affected furniture or inventory
- Any visible pipe breaks or roof entry points
Save Receipts for Emergency Expenses
- Fans or dehumidifiers
- Temporary lodging
- Cleanup materials
- Plumbing repairs
Step 4: Remove Standing Water as Quickly as Possible
Standing water is one of the biggest threats in the first 24 hours. It increases damage and slows the drying process.
Safe DIY Methods for Minor Water Damage
- Towels and mops
- Wet/dry vacuums
- Buckets and squeegees
Call for Professional Extraction When You Have
- A flooded basement
- Water covering multiple rooms
- Water damage in commercial spaces
- Sewage-contaminated water
- Water that has been sitting for hours
Step 5: Start Drying the Area Immediately
Drying is the most important part of preventing long-term water damage and mold.
Use Dehumidification to Reduce Moisture: Moisture can stay trapped in the air even after standing water is removed. Dehumidifiers help pull humidity out of the space, which supports faster drying and reduces mold risk.
Improve Airflow to Speed Up Drying
- Opening windows if weather allows
- Turning on fans
- Running HVAC systems if safe
- Removing wet rugs and mats
Step 6: Protect Furniture, Flooring, & Belongings
The first day is also when you can prevent unnecessary loss by moving and protecting items. If items cannot be moved, place aluminum foil or wood blocks under furniture legs to prevent staining and further water absorption.
Move These Out of the Wet Area
- Electronics
- Rugs
- Upholstered furniture
- Documents and paper files
- Merchandise or inventory
Step 7: Do Not Ignore Hidden Water Damage
Winter water damage often spreads into places you cannot see. Professional moisture detection tools help identify hidden water damage early.
Check for Hidden Water Damage In
- Behind drywall
- Under baseboards
- Beneath laminate or hardwood
- In insulation
- Above ceiling tiles
Early Signs of Mold to Watch For
- Musty odors
- New allergy-like symptoms indoors
- Dark spots on walls or ceilings
- Persistent dampness
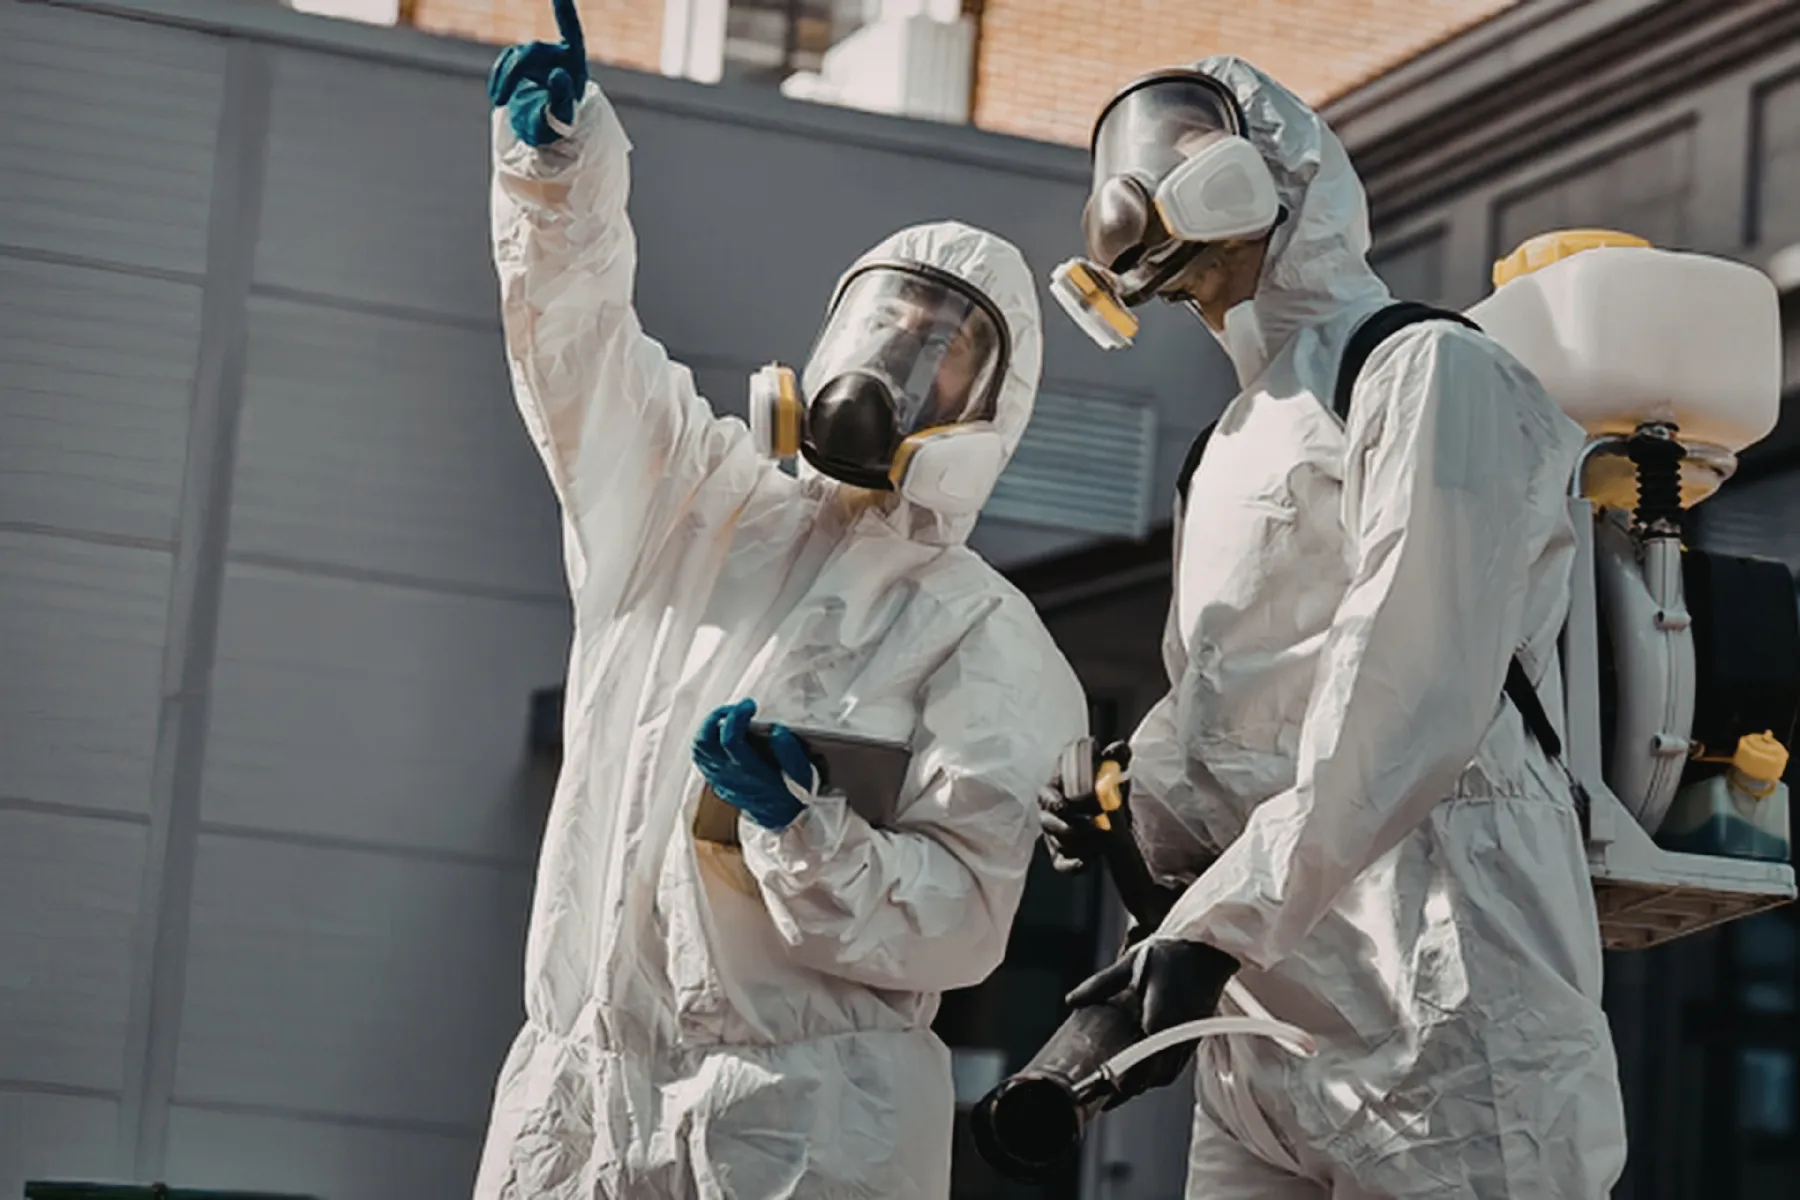
Step 8: Call a Restoration Company Within the First 24 Hours
In most cases, professional restoration services are the best way to prevent long-term damage. The faster mitigation starts, the more likely it is that repairs stay limited and costs stay manageable.
Professional Cleanup Includes
- Emergency water extraction
- Industrial drying and dehumidification
- Moisture mapping and monitoring
- Sanitizing and odor control
- Mold prevention and remediation support
How Fast Action Reduces Repair Costs
- Drywall can be saved
- Flooring can be restored
- Mold can be avoided
- Repairs remain limited to smaller areas
What Not to Do After Winter Water Damage
- Do not wait to see if the water dries on its own. Water trapped in walls and flooring can cause hidden damage even if the surface dries.
- Do not use space heaters to dry water damage. Space heaters can create fire hazards and may worsen humidity issues. Professional drying equipment is designed specifically for water damage restoration.
- Do not paint over water stains without addressing the source. Covering stains does not solve the problem. Moisture may still be present, and mold may still be growing behind the surface.
Winter Water Damage Cleanup: Contact 911 Restoration
Winter water damage is stressful, but fast action can reduce long-term consequences. The first 24 hours are the most important window for stopping the leak, removing water, beginning drying, and preventing mold growth. Our team is available 24/7 to help protect your property and get you back to normal faster.